
Building a tennis court is an amazing investment. It can enhance your property value. It promotes physical activity, and gives a space for sporting events. Tennis court building is a successful project for personal use or as a business attempt.
You can practice tennis without booking court time or dealing with crowds. You can also hold your own tournaments on your private tennis court and earn money.
This guide will explain the steps to construct a high-quality tennis court. We go into further detail about the rules and court’s building methods.
Table of Contents
TogglePlanning Before Building a Tennis Court
It is a good decision to make a list of all requirements before starting tennis court construction. Here is the checklist necessary for the DIY tennis court building.
- Study local laws. Verify building codes, zoning rules, and permit needs. Secure Our discussion focuses on the construction techniques and regulations. Our discussion focuses on the construction techniques and regulations.
- Site Selection. Choose a level, well-drained location. Select large spaces for the court and runoffs for safety and comfort.
- Surface Type. Select your favorite surfaces, such as concrete, asphalt, grass, or clay.
- Dimensions. Single court dimensions are 23.77 m x 10.97m, with extra run-off space.
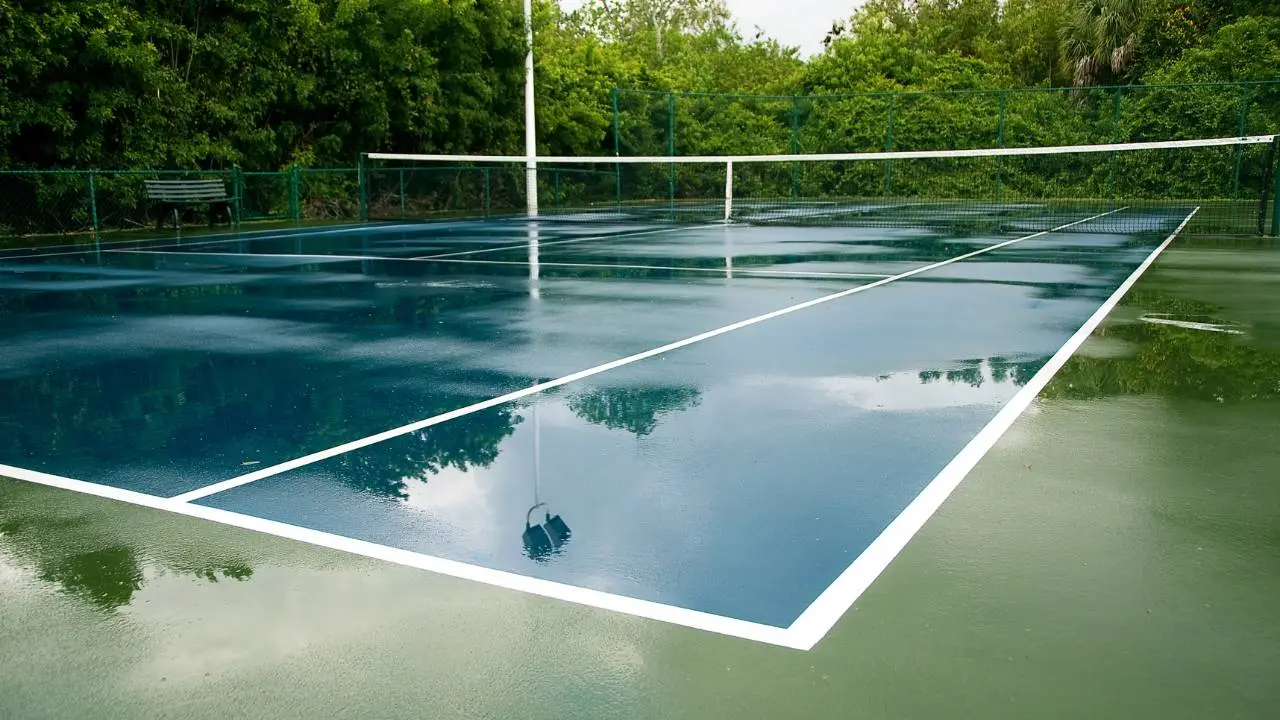
- Drainage. To maintain the court and avoid water buildup, appropriate drainage is essential.
- Choose Your Construction Method. You can do your construction yourself or with expertise. Think about your skills and the task’s difficulties.
- Budget. Plan your budget carefully, considering all aspects, from construction to maintenance.
- Fencing. It is essential for keeping the ball within the court and ensuring player safety.
- Lighting. Consider installing LED lighting for year-round use and to reduce glare and shadows.
- Maintenance Plan. Regular maintenance is necessary to keep the court in good condition, including cleaning and resurfacing.
Tools and Materials Needed
Make a list of tools you need. Purchase the tools before starting building. A detailed list is mentioned below:
Tools:
- Excavation Tools: shovels, pickaxes, or equipment like backhoes for larger areas.
- Compaction Equipment: Plate compactors or rollers to prepare the sub-base.
- Leveling Tools: Levels, string traces, and stakes to ensure a flat surface.
- Sod Cutter: For disposing of grass and vegetation.
- Large Roller: To compact the soil and other layers.
- Drag: To smooth out the surface.
- Safety Gear: safety glasses, gloves, and strong shoes.
Materials:
- Sub-base Material: Crushed stone or gravel to create a solid foundation.
- Surface Material: Depending on the sort of court, you may need asphalt, concrete, clay, or artificial materials.
- Tennis Net and Posts: Essential for putting in place the court docket.
- Fencing material: posts, mesh, and gates to hold balls within the playing place.
- Paint: This is used to mark the lines at the court docket.
- Drainage material: pipes, gravel, and landscape fabric.
- Lighting (elective): LED bulbs and lights.
Step 1: Location Selection
The first step in constructing a tennis court at home is choosing the ideal site. This step sets the basis for the whole construction.
- Site Selection: Select a flat, open area with good drainage and enough space to accommodate the court dimensions. The space should be level and provide enough sunlight throughout the day. Always select a location away from trees to avoid debris and surface moisture. Check the climate conditions around an area.
- Size and Dimensions: A single tennis court is 78 feet (about 24 meters) long and 27 feet (about 8 meters) wide. The double tennis courts are 36 feet (10.97 meters) wide and 78 feet (23.77 meters) long. The combined single, double, and overrun areas are 120 feet by 60 feet. An extra 18 feet behind each baseline and 10 feet on either side allow player movement.
Step 2: Ground Preparation
- Clearing and Excavation: Prepare the ground by removing debris. Level the ground properly and grade it for proper drainage. Unique leveling requires professional experts and equipment. Excavate to a depth of at least 12 inches for a hard court to allow for base materials.
- Sub-Base Installation: A sub-base provides good drainage.
Step 3: Base and Surface Application
- Base layer: Put a layer of crushed stones to set a solid base. According to the type of court and soil situation, you might set up a concrete base, an asphalt base, or a compacted aggregate base. The properties and expenses of each material are different.
- Surface type: Choose a surface from asphalt, concrete, clay, or synthetic. The cost and benefits of each surface are different.
- Surface Application: Apply asphalt or concrete base for hard tennis court construction. Apply crushed stone base for clay courts. The soil base is suitable for grass court construction.
Step 4: Applying Synthetic Grass
Apply artificial grass. Clean the ground surface. Remove debris and vegetation from it. Unroll the artificial grass and cut it after measuring it with measuring tape. Cut the grass equal to the ground dimensions and connect the pieces with adhesive tape.
Staple or nail the edges of the grass to stop movements. Spread a layer of silica sand over the synthetic grass to give it a natural feel.
Step 5: Fencing and Drainage
- Fencing: Keeping the balls inside the playing area and ensuring safety are two benefits of fencing. The fence is almost 12-12 feet high. They have gates to move across.
- Drainage: Drainage is a must to stop water from entering the court. Water accumulation damages the court surface. It also interferes with the matches.It maintains surface integrity.
- Drainage system: Water is kept out of the playing area by perimeter drains. Use slop and grading to facilitate water runoff. Install a subsurface drainage system. The drainage systems can absorb excess water.
Step 6: Net Posts and Net Installing
Installing these accessories needed expertise. Look for professionals and expert workers.
- Placement: On either side of the court, apply the net posts. For singles, the distance between them should be forty-two feet, and for doubles, thirty-three feet.
- Setting the Net Height: At the center, the normal net height is 36 inches. Use a center strap to maintain this height.
- Anchoring Posts: Posts should be anchored firmly, often with concrete bases, to prevent movement during play.
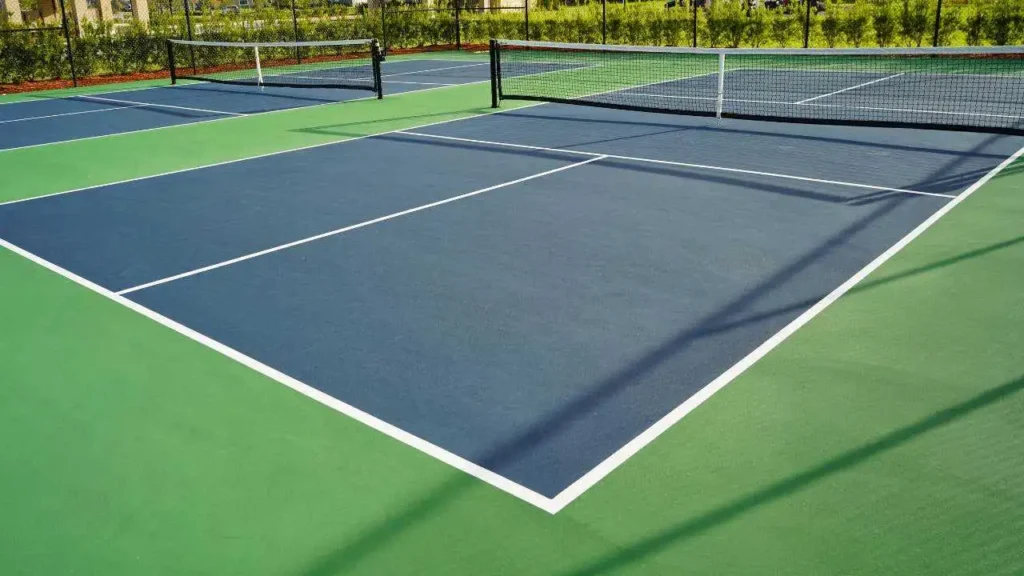
Step 7: Court Markings
Use high-quality, weather-resistant paint or marking tape. Line machines or stencils are helpful for accurate application.
- Baselines (end lines). Mark 36 feet for doubles and 27 feet for singles.
- Service Boxes: Mark service boxes 21 feet from the net, dividing them into left and right service courts with a centerline.
- Other Lines: Add the baseline, center mark, and sideline markings like International Tennis Federation (ITF) specifications.
Step 8: Auxiliary Structures
Auxiliary structures play a crucial role in enhancing the court’s functionality.
- Windbreaks: Fences are usually 10–12 feet high to keep the ball in play and maintain privacy. Windbreaks are often added to help minimize the impact of the wind.
- Lighting: For nighttime play, install lighting poles around the court. LEDs are a popular choice because they are efficient.
- Seating and Scoreboards: Comfortable seating areas for players and spectators can enhance the experience. Benches or chairs for players and a scoreboard can be added for convenience.
- Shelters: To shield participants and viewers from the sun and rain, give covered spaces or shelters. Make a storage area for equipment like nets, balls, and maintenance tools. This can be a small shed or a designated area within an existing structure.
Advantages of Having Private Tennis Court
Building a tennis court in your backyard gives many advantages:
- Convenience. You can play anytime without going to a club or public court.
- Physical Fitness. Regular tennis matches are valuable for heart health, endurance, and fitness.
- Property Value. It will make your home an icon.
- Social Hub. It provides a great space for social gatherings, from casual games to themed parties.
- Family Bonding. You will have a lot of time with your family whenever you want. It promotes healthy competition and teamwork.
- No planning permission. You don’t need planning permission to build a tennis court unless you plan to install floodlights.
- Prestige. It adds a touch of luxury and worth to your property.
Conclusion
Building a tennis court is a worthwhile try that can save you years of relaxation. Following this guide, you will have the resources to plan, design, and build a tennis court. It will meet your desires and enhance your private home. Your new tennis court can be a valuable addition to your private home. Get the tennis court ideas, tennis court landscaping, safety cautions, and tennis court accessories.
FAQs
Here is the complete detail of how to build a tennis court step by step. You will see a few Frequently Asked Questions about tennis court.
Single court: 23.77 m long and 8.23 m wide.
Double court: 23.77 m long and 10.97 m wide.
The cost of building a tennis court ranges from $25000 to $100000, and it may vary depending on the surface type and location.
Yes. Check the local regulations before starting construction.
